Install Ceiling Light Fixture: A Step-by-Step Guide to Brighten Your Space
Lighting is the cornerstone of any well-designed space, and installing a ceiling light fixture can transform the ambiance and functionality of a room. Whether you’re upgrading an old fixture, adding lighting to a new space, or simply refreshing your decor, understanding the process of install ceiling light fixture is essential. This guide will walk you through the steps involved, ensuring a safe and successful installation that enhances both the aesthetics and practicality of your home.
Understanding the Importance of Proper Lighting Installation
A well-installed ceiling light fixture not only provides essential illumination but also contributes to the overall design of a room. From modern chandeliers to sleek recessed lights, the right fixture can serve as a focal point or complement the existing decor. However, improper installation can lead to safety hazards, such as electrical shorts or unstable fixtures. That’s why mastering the process of install ceiling light fixture is crucial for homeowners looking to improve their living spaces.
Before diving into the installation process, it’s important to note that electrical work can be dangerous. If you’re not comfortable with DIY projects or unsure about any step, hiring a licensed electrician is always the safest option. With that said, for those who enjoy hands-on projects, the following guide will help you navigate the process smoothly.
Bonlicht Saul LED Bathroom Light Fixture 12W
$60 – $110
Melucee Adrian Flush Mount Ceiling Light Rotatable Track Lighting Kit

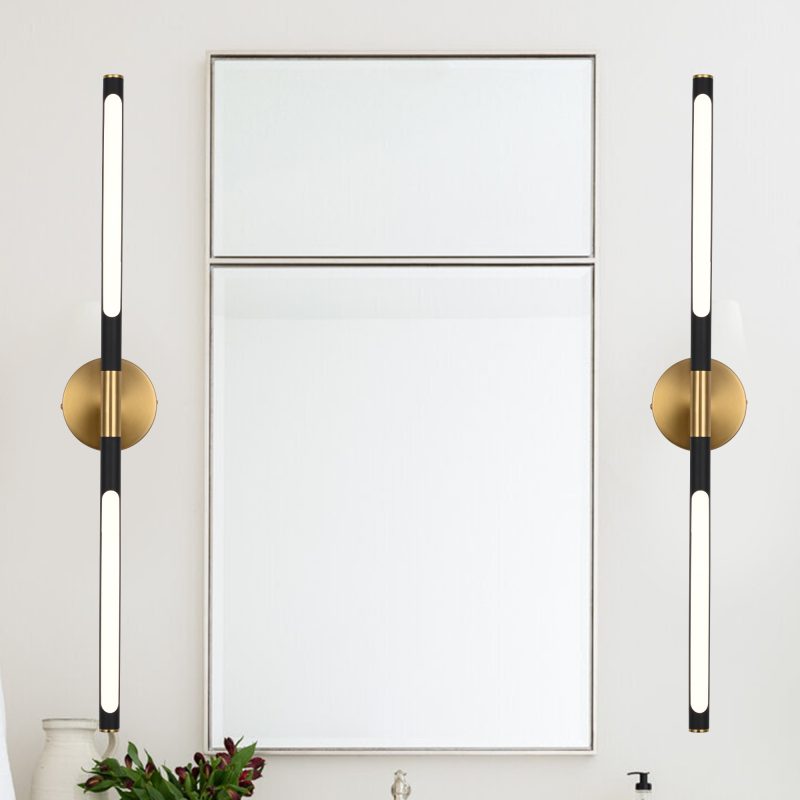
Melucee Hugo Black Hammered Glass Wall Lights
$160 – $200
Melucee Ismael Hammered Glass Vanity Lights
$70 – $250Step-by-Step Guide to Installing a Ceiling Light Fixture
Step 1: Gather Your Tools and Materials
Before you begin, ensure you have all the necessary tools and materials. These typically include:
- New ceiling light fixture
- Screwdriver
- Wire stripper
- Voltage tester
- Stepladder
- Wire nuts
- Additional screws or mounting hardware (if needed)
Having everything on hand will make the process more efficient and prevent interruptions.
Step 2: Turn Off the Power
Safety is paramount when working with electricity. Turn off the power to the room at your home’s circuit breaker. Use a voltage tester to confirm that the power is off before proceeding. This step cannot be overstated—it protects you from potential electrical shocks.
Step 3: Remove the Old Fixture (If Applicable)
If you’re replacing an existing fixture, carefully remove it by unscrewing the retaining screws and gently lowering the fixture. Disconnect the wires by unscrewing the wire nuts and carefully pulling the wires apart. Take a photo of the wiring configuration if needed, as this can help during reinstallation.
Step 4: Prepare the New Fixture
Unpack your new ceiling light fixture and identify the wiring—typically, you’ll have black (hot), white (neutral), and green or copper (ground) wires. Loosen the wire nuts on the fixture to prepare for connection.
Step 5: Connect the Wires
Match the wires from the fixture to the corresponding wires in the ceiling box:
- Connect the black wire from the fixture to the black wire in the ceiling box.
- Connect the white wire from the fixture to the white wire in the ceiling box.
- Connect the green or copper wire from the fixture to the bare copper wire in the ceiling box.
Secure each connection with a wire nut, ensuring they are tight and well-insulated.

Step 6: Mount the Fixture
Carefully lift the fixture into the ceiling box, securing it with the provided screws or mounting hardware. Ensure it is level and firmly attached. If your fixture is heavy, consider using additional support to prevent strain on the wiring.
Step 7: Test the Fixture
Once the fixture is securely mounted, restore power at the circuit breaker. Turn on the light to ensure it functions correctly. If it doesn’t, turn off the power again and double-check your wiring connections.
Step 8: Final Touches
Install any additional components, such as bulbs or glass shades, and adjust the fixture as needed. Step back to admire your work and ensure the fixture complements the room’s design.
Tips for a Successful Installation
- Read the Instructions: Always refer to the manufacturer’s guidelines for your specific fixture, as some may have unique installation requirements.
- Consider Weight and Size: Larger or heavier fixtures may require additional support, such as a ceiling medallion or brace.
- Match the Style: Ensure the new fixture aligns with your room’s decor to maintain a cohesive aesthetic.
- Mind the Height: Position the fixture at an appropriate height—typically 7 to 8 feet from the floor—for optimal illumination and safety.
Installing a ceiling light fixture is a rewarding project that can significantly enhance your space. By following these steps and prioritizing safety, you can achieve a professional-looking result that brightens your home and reflects your personal style. Whether you’re upgrading a single room or tackling a whole-house renovation, mastering the process of install ceiling light fixture will serve you well in creating a well-lit and welcoming environment.
Dear Customers,Thank you for visiting our website! To help you navigate and optimize your shopping experience, we’ve prepared a few key pages for you:
Home Page: On our home page, you can explore the latest lighting designs and customer-favorite items, making it easier for you to find the perfect lighting solution for any space.
Blog: If you are interested in learning more about lighting, or if you’d like to stay updated on the latest design trends and expert tips, our blog is the place to be. It offers valuable content on lighting selection, placement suggestions, and industry news.
Featured Collections: If you are seeking our best-selling or top-rated lighting fixtures, don’t miss our featured collections. Here, we highlight our most popular products to help you make a well-informed and confident decision.


