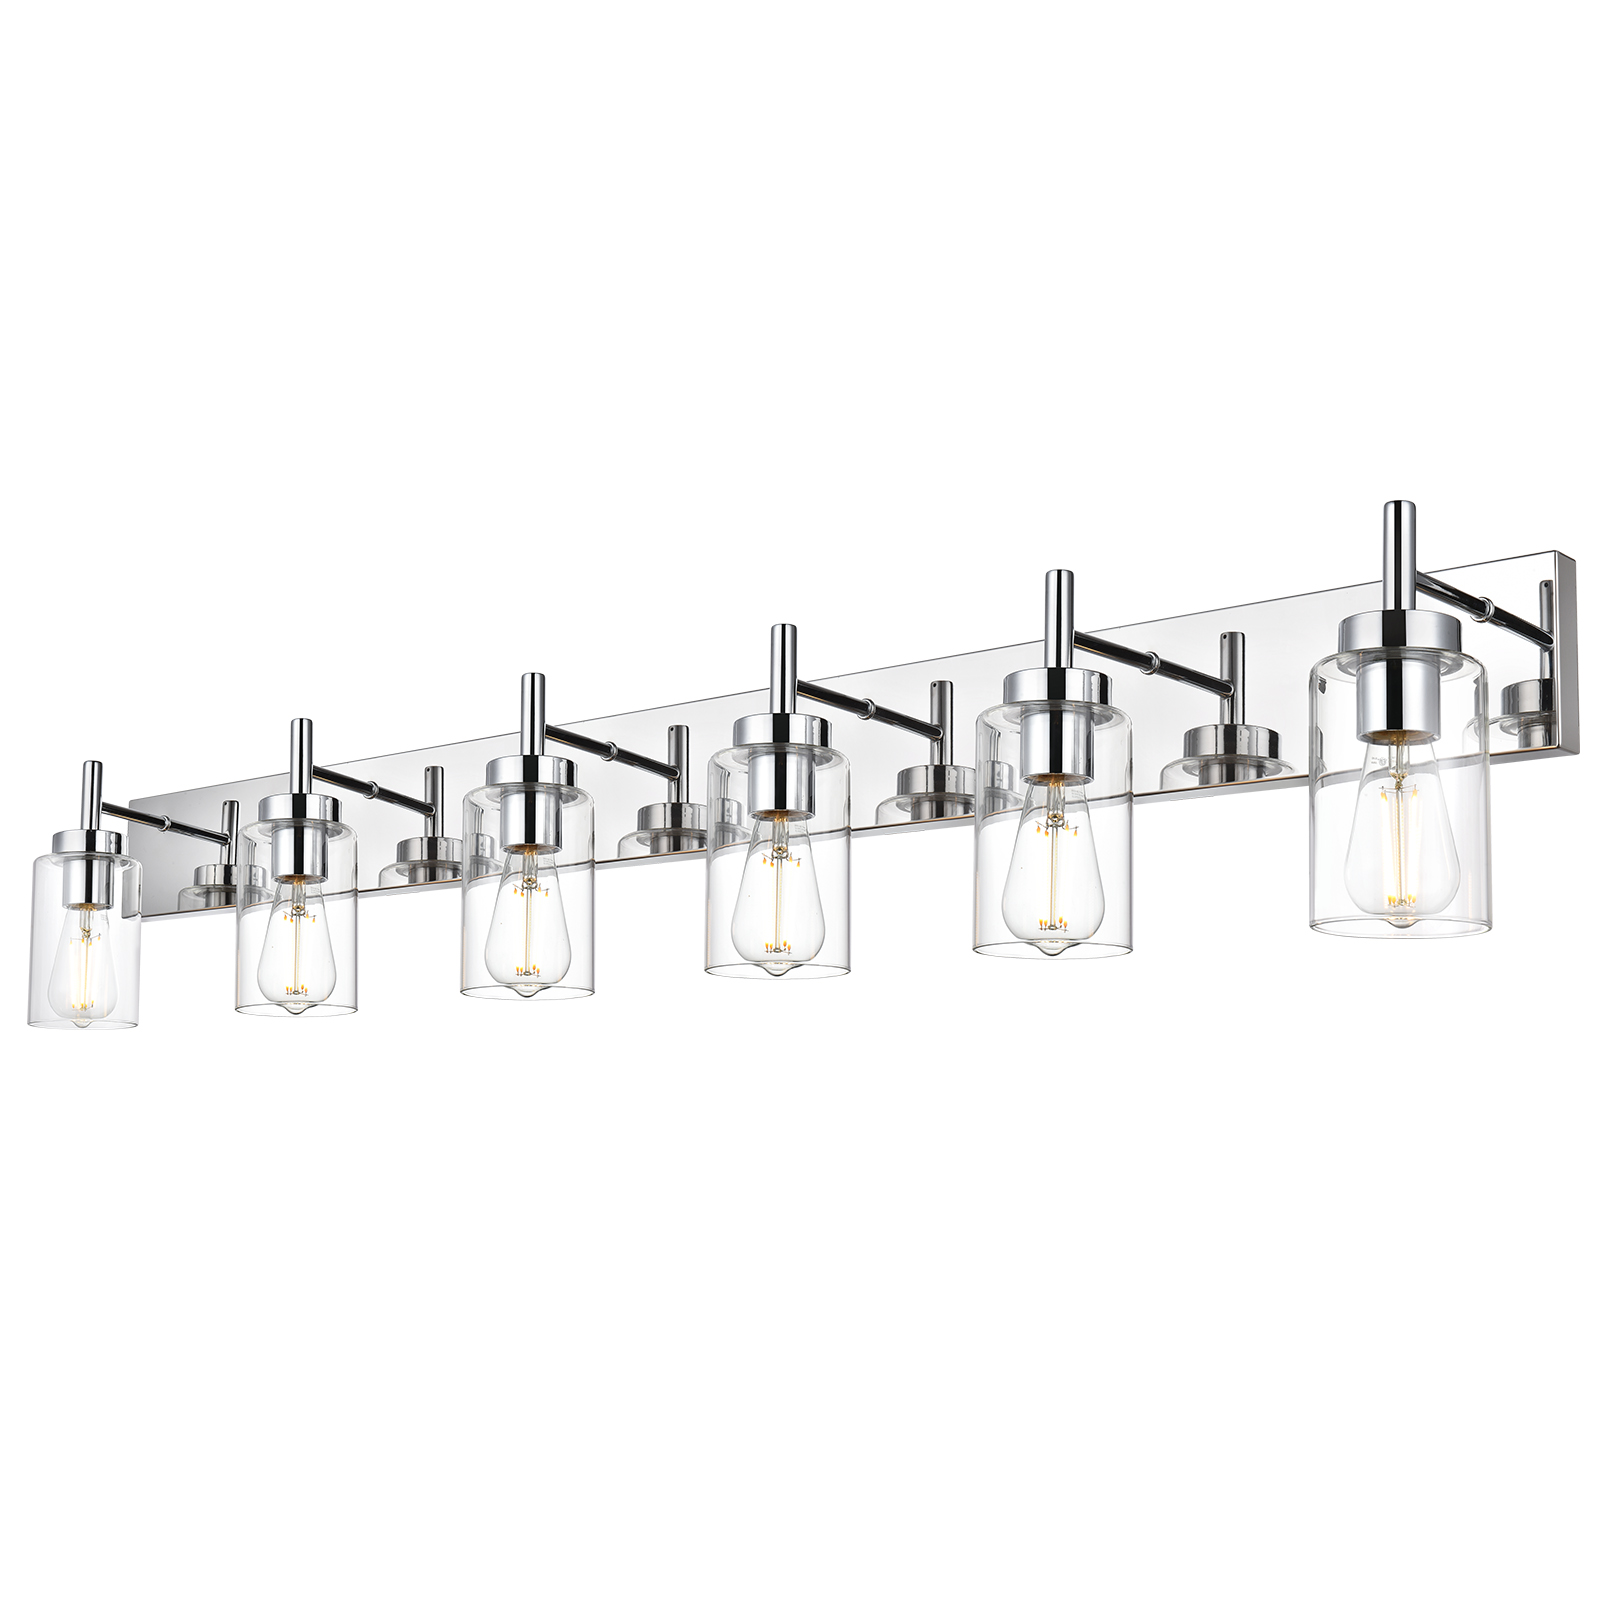
diy wood chandelier
DIY Wood Chandelier: A Guide to Creatingrustic Elegance
Foreword
A chandelier is not just a lighting fixture; it’s a statement piece that defines the aesthetic of a room. Among the myriad of chandelier designs, a DIY wood chandelier brings a unique blend of rustic charm and modern elegance to any space. If you’re looking to add a touch of warmth and character to your home, crafting your own wood chandelier is an exciting project. This article will guide you through the process, ensuring that you achieve a stunning result that reflects your personal style.
The Allure of a DIY Wood Chandelier
A DIY wood chandelier is a project that combines the beauty of natural wood with the functionality of lighting. It’s a perfect way to infuse a room with a sense of rusticity while maintaining a contemporary feel. Whether you’re a seasoned DIYer or a beginner, this project is achievable with the right guidance and tools. Let’s explore the reasons why a DIY wood chandelier is a desirable addition to any home:
- Customization: You can tailor the design to your exact preferences, ensuring that it complements your existing decor.
- Cost-Effective: Making your own chandelier can be more affordable than buying a ready-made one.
- Satisfaction: The sense of accomplishment that comes from creating something beautiful with your own hands is unparalleled.
Materials Needed for a DIY Wood Chandelier
Before you embark on your DIY wood chandelier project, gather the following materials:
- Wooden Rounds: These will serve as the base for your chandelier. You can use reclaimed wood or purchase new rounds.
- Lighting Fixtures: Choose the type of lights you want, whether it’s Edison bulbs, LED candles, or any other style.
- Hardware: This includes screws, nails, and hinges for assembly.
- Paint or Stain: If you want to finish the wood, select a paint or stain that enhances the natural beauty.
- Safety Gear: Don’t forget safety glasses and gloves to protect yourself during the process.
- Tools: A saw, drill, screwdriver, and sandpaper are essential for cutting and assembling the chandelier.

Step-by-Step Guide to Creating a DIY Wood Chandelier
Creating a DIY wood chandelier involves several steps, each contributing to the final beauty of the piece. Here’s a detailed guide to help you through the process:
Design and Planning
- Sketch Your Design: Decide on the shape and size of your chandelier. This will guide you in cutting the wood.
- Calculate Measurements: Ensure that the chandelier will fit comfortably in the space you intend to hang it.

Cutting the Wood
- Measure and Mark: Use a ruler and pencil to mark the wood where you will cut.
- Cut the Wood: Use a saw to cut the wooden rounds according to your measurements.
Assembling the Frame
- Drill Holes: Drill holes in the wooden rounds where the lights will be placed.
- Attach the Rounds: Use screws or nails to attach the rounds to each other, forming the frame of the chandelier.
Adding the Lights
- Install the Fixtures: Insert the lighting fixtures into the holes you’ve drilled.
- Wire the Lights: Connect the lights to the electrical source, ensuring that all connections are secure.
Finishing Touches
- Paint or Stain: Apply paint or stain to the wood to achieve the desired look.
- Add Decorative Elements: Consider adding additional decorative elements like metal accents or beads to enhance the chandelier’s appearance.
Safety and Installation
- Check Electrical Connections: Ensure all electrical connections are safe and secure.
- Install the Chandelier:Hang the chandelier from the ceiling, using appropriate hardware and following safety guidelines.
Tips for a Successful DIY Wood Chandelier Project
Creating a DIY wood chandelier is a rewarding experience, but it’s essential to keep some tips in mind to ensure success:
- Plan Ahead: Take your time to plan the project, including the design and the materials you’ll need.
- Take Your Time: Don’t rush the process. Take your time to ensure each step is done correctly.
- Safety First: Always prioritize safety, especially when dealing with electricity and sharp tools.
The Impact of a DIY Wood Chandelier on Your Home
A DIY wood chandelier can transform a space, adding warmth and character that store-bought pieces often lack. Here are some ways it can impact your home:
- Enhance Visual Appeal: A well-crafted wood chandelier can be a focal point in a room, drawing the eye and adding visual interest.
- Improve Lighting: Proper lighting is crucial for creating a comfortable and inviting atmosphere.
- Reflect Your Style: A homemade chandelier reflects your personal style and adds a unique touch to your home.
Conclusion
A DIY wood chandelier is a project that combines creativity, functionality, and personal expression. By following the steps outlined in this guide, you can create a stunning piece that adds rustic elegance to your home. Whether you’re looking to update a dining room, bedroom, or any other space, a DIY wood chandelier is a perfect choice. Embrace the joy of DIY, and watch as your creation brings warmth and beauty to your living space.


